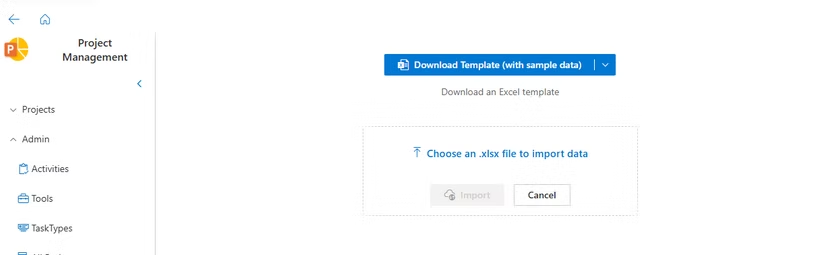
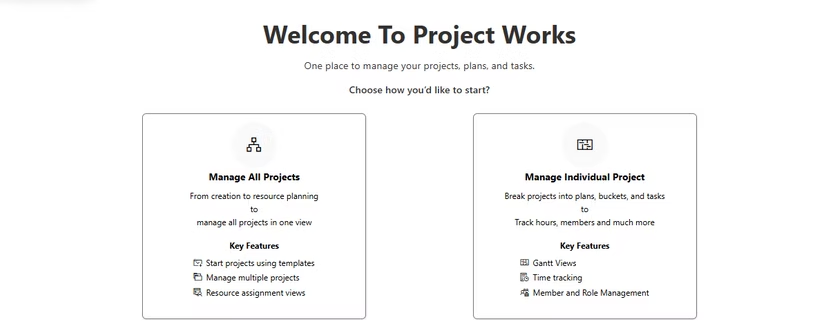
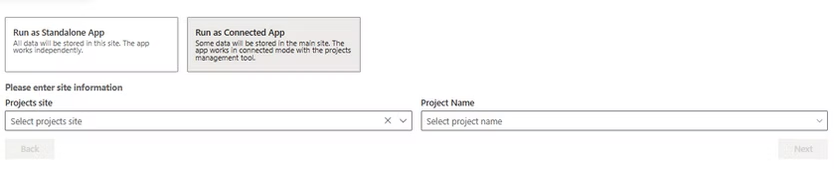
You can now download a template with or without sample data, and import all required data from the above UI. Once all data is imported, you can use the app. These are the sheets to be imported:
1. Cost Centers, it basically decides the hierarchy of the organization. You can make:
•4 levels: Business > Business Unit > Department > Teams
•3 levels: any three
•2 levels: any two
•1 level: any
To declare a business, the Title should match the Business column, and to add Business Unit or department, the respective columns should be equal to the title. And the same procedure is followed for the whole hierarchy.
2. Cost Center hourly rate: Here all the information for costing is added.For example, Leader from MBD Cost center is assigned some cost per hour.
3. Role: All the roles for assignment (default: Project leader, associate, Idle, General, Meeting)
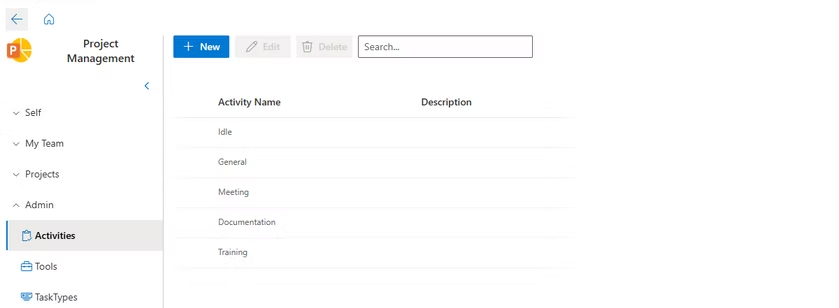
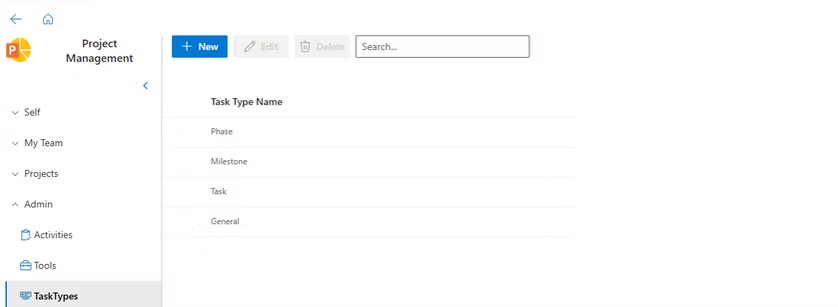
4. Task Types: All the task types (default: Phase, Milestone and Task)
5. Shifts
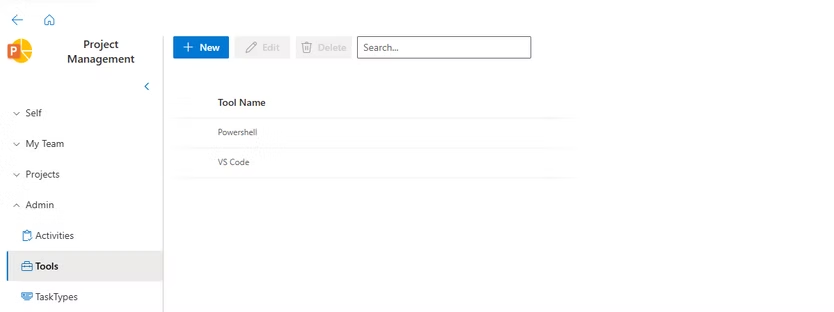
6.Tools
7.Purchase Orders
8.Employees