The Expense web part provides several functionalities:
1. Home Screen
The landing page of the Expense Works provides quick access to:
New Claim: Start a new reimbursement request.
My Requests: View all claims submitted by the current user.
Approvals: If the user is an approver, this button navigates to the approval screen.
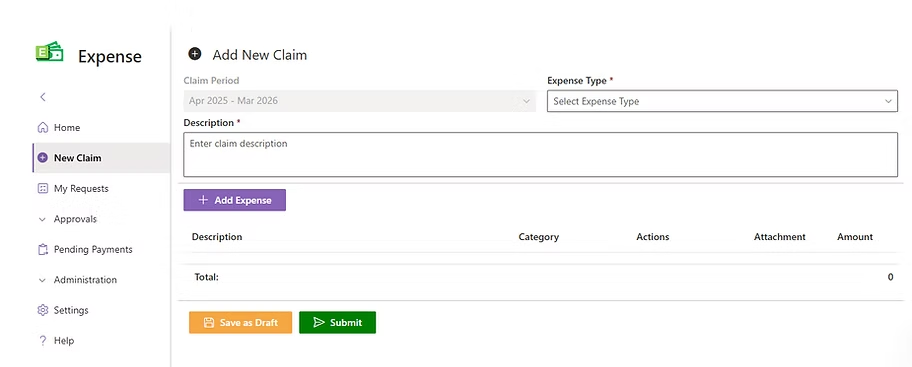
2. New Claim Request
Users can create a new claim by following these steps:
Select the Claim Period.
Choose the Reimbursement Type (e.g., General, Travel or Conveyance Expenses).
Enter a Description of the claim.
Add multiple Expense Details including:
Expense Date
Amount
Bill Number
GST IN
Upload a PDF copy of the bill.
Option to Save as Draft or Submit for Approval
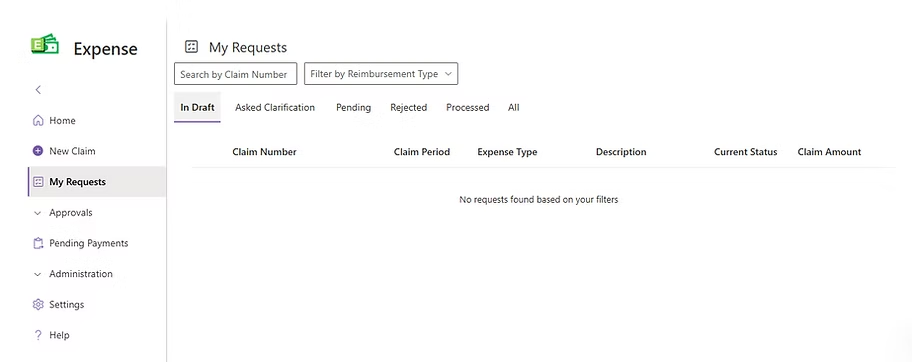
3. My Requests
Displays claims submitted by the user. Claims are categorized based on their status:
In Draft
Pending Approval
Clarification Requested
Rejected
Processed
All
Features
Search for Claim Number or Reimbursement Type.
Sort by Claim Number, Period, Type, Current Status, Description or Amount.
View Claim Details by selecting a specific claim.
Detailed View Includes:
Current Approval Status.
Search for Claim Number or Reimbursement Type.
Sort by Claim Number, Period, Type, Current Status, Description or Amount.
Approver’s comments and decision history.
Full Expense Details.
If clarification is requested, users can:
View the Comment.
Respond via the Clarification Screen.
Resubmit the request.
If Rejected, users can edit and resubmit the request.
Claims are Saved in Draft can be edited and Submitted for approvals
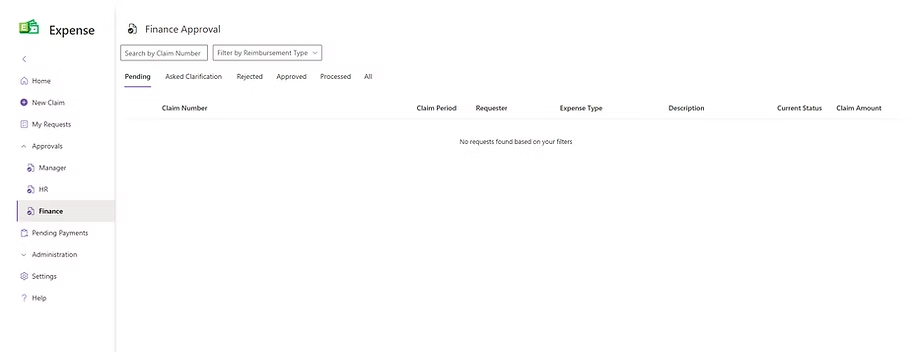
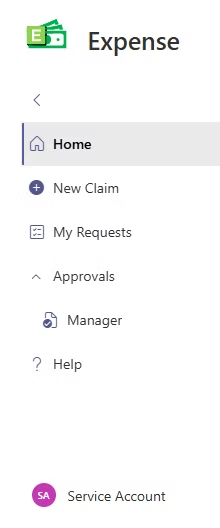
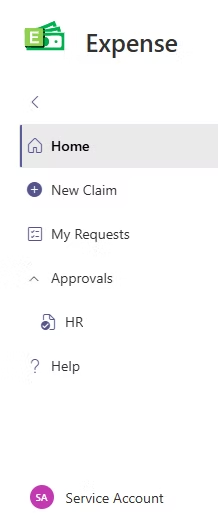
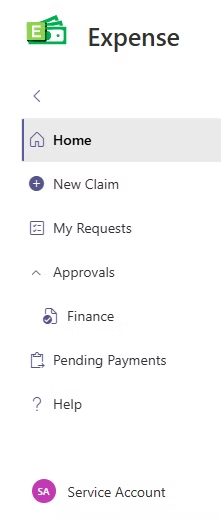
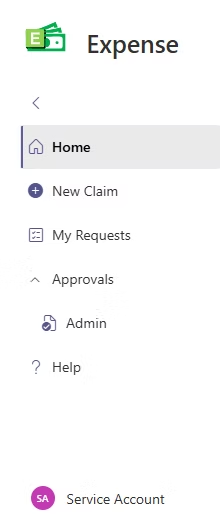
4. Approvals
Accessible only for designated Approvers (Manager / HR / Finance / Admin).
Functionality:
View claims awaiting their approval.
Select a claim to open the Claim Request Details view.
Review claims and associated expense items.
Choose to:
Approve
Request Clarification
Reject
Decisions should follow company reimbursement policies.
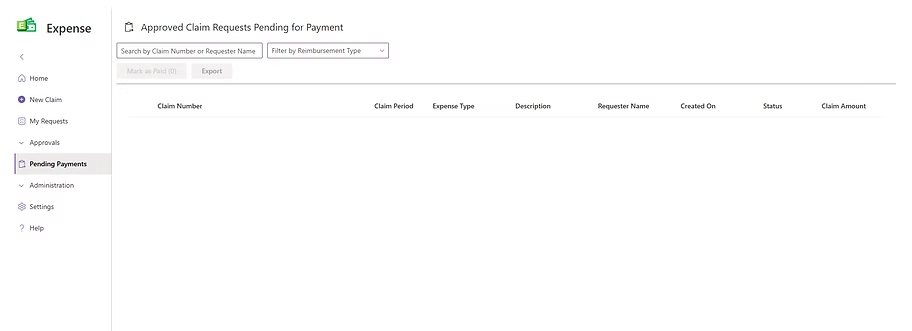
5. Pending Payments
Accessible only to Finance team members or Payment Processors.
Functionality:
View all claims that are approved and awaiting payment.
Filter claims by:
Claim Number
Associate ID
Reimbursement Type
Generate Reports in Excel format.
Mark Claims as Paid after processing the payment.
6. Administration / Settings
The Administration / Settings module enables system administrators to manage configurations, user roles, and organizational data directly from the app interface.
Settings
The Settings section includes three pivot tabs:
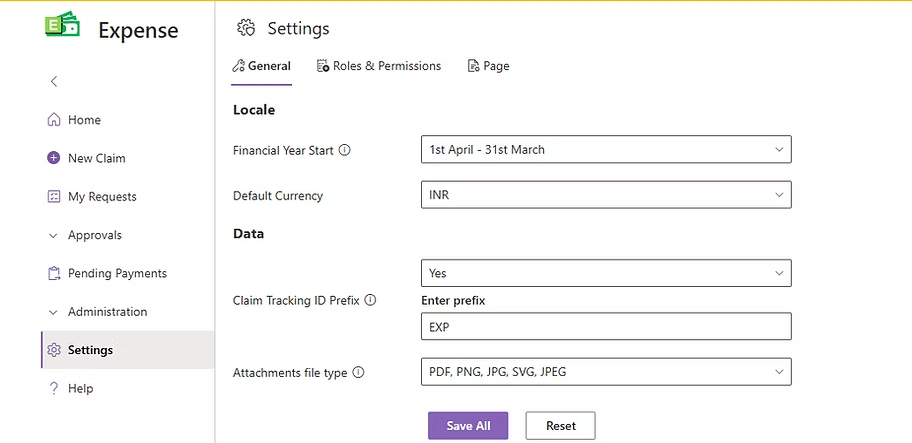
A. General
Locale Settings: Define Claim Period and Financial Year Start.
Data Settings: Set Default Currency, Claim Tracking ID Prefix, and allowed attachment file types.
Admin can Save changes made in both Locale and Data sections or Reset them to previously saved configurations.
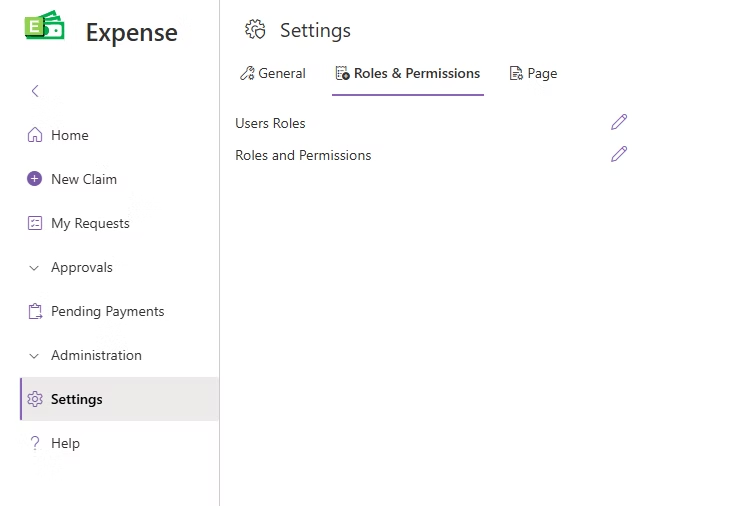
B. Roles & Permissions
Admin can assign specific roles to users such as HR, Admin, or Finance.
Roles determine access to modules and functionalities across the app.
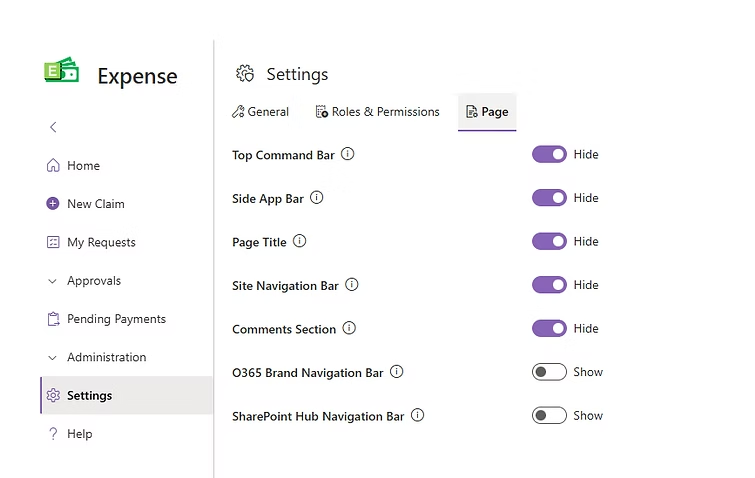
C. Page
This allows the administrator to configure SharePoint UI settings. Administrators can choose to show or hide specific SharePoint interface elements such as the O365 navigation bar, Hub navigation bar, Comments section and Page title.
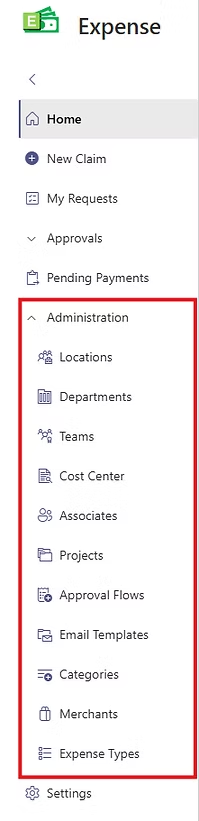
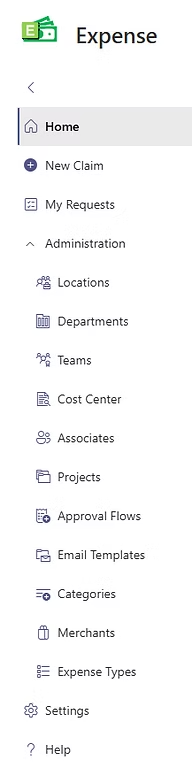
Administration Components
The Administration area provides management tools for organizational data.
Each component allows Admins to view, add, or edit entries through an integrated panel interface.
Available Components:
Locations
Departments
Teams
Cost Centers
Associates
Projects
Approval Flows
Email Templates (editable only; new templates cannot be added)
Categories
Merchants
Expense Types
Each list displays existing items with options to add new records or modify selected ones using the side panel editor. This modular structure simplifies master data maintenance without leaving the app.
7. Role-Based Access
Access within Expense Works is strictly role-based, ensuring that each user sees only the components relevant to their responsibilities.
Below are the navigation options and privileges for each role type.
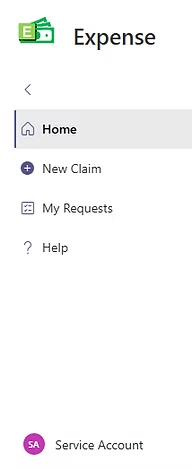
7.1 Associates (Regular Users)
Navigation Bar Items:
Home
New Claim
My Requests
Help
Access Privilege:
Submit and track personal reimbursement claims.
Edit or resubmit claims after clarification or rejection.
7.2 Administrator Role
Navigation Bar Items:
All User components (Home, New Claim, My Requests, Help)